

How to sear properly
The single skill that turns most home cooking from fine into great — and why it goes wrong more often than it should
Searing is the difference between a good steak and a great one. Between a stew that tastes alive and one that tastes flat. Between chicken that holds its shape and chicken that falls apart in a sad pile of grey strings.
It sounds simple — get the pan hot, put the food in, let it brown. But searing goes wrong constantly in home kitchens. The food sticks. It steams instead of browning. It leaves a beautiful colour on the outside that doesn't translate to flavour. The pan is always wrong, the heat is always wrong, the timing is always wrong.
Once you understand what searing actually is and what it needs to work, you stop fighting it. The result is the deep brown crust that's the foundation of nearly every great cooked dish.
What searing actually is
Searing is the rapid browning of the surface of food at high heat. It creates colour, texture, and — crucially — flavour. The chemical reaction responsible is called the Maillard reaction. Without getting too technical, it’s a reaction between proteins and sugars at high temperatures that produces hundreds of new flavour compounds. The brown crust on a properly seared piece of meat tastes nothing like the same meat unbrowned.
This is why a stew tastes so different depending on whether you brown the meat first. A flat, watery stew is one where the meat went straight into the liquid. A rich, deep stew is one where the meat was seared first and that browned crust dissolved into the sauce.
Why searing goes wrong
Most failed sears come down to one of three problems:
The food is wet. Water is the enemy of browning. As long as there’s surface moisture, the food will steam instead of sear. The pan can’t get above 100°C because the water is busy boiling. Browning starts at 140°C. So if you don’t dry your food, you’re cooking at half the temperature you think you are.
The pan isn’t hot enough. Most home cooks add food to a pan that feels hot but isn’t actually at searing temperature. The food then cools the pan further. By the time the pan recovers, the food has spent two minutes steaming instead of browning.
The pan is overcrowded. Too much food in a pan releases too much moisture all at once. The pan drops in temperature and the food steams. Whatever you’d hoped to sear ends up grey.
Solving all three is most of the battle.
Choosing the right pan
The pan matters more than people think. Different pans hold heat differently and behave differently when food hits them. Use the wrong pan and you’ll struggle to get a proper sear no matter how good your technique is.
Cast iron. The best searing pan you can own. Holds heat exceptionally well, doesn’t drop in temperature when food hits it, and develops deep colour fast. Heavy and slow to heat up, but once it’s hot it stays hot. Worth the investment if you sear regularly.
Carbon steel. Lighter than cast iron with similar heat retention. The pan most professional kitchens use. Heats up quickly, sears beautifully, and develops a non-stick patina over time. A fantastic searing pan for the home cook willing to season and care for it.
Stainless steel. Decent for searing but trickier. Tends to stick more than cast iron or carbon steel, and the heat distribution can be uneven on cheaper pans. Works well if you preheat properly and use enough fat.
Non-stick. The wrong pan for searing. Non-stick coatings degrade at the high temperatures needed for a proper sear, and the smooth surface doesn’t develop the same crust. Use non-stick for eggs and delicate fish, not for browning meat.
Aluminium. Heats up quickly but doesn’t retain heat well. Pan temperature drops fast when food hits it, which kills the sear. Fine for sauces and quick cooking, not great for searing.
How to actually sear
Here’s the workflow that works:
- Pat the food dry. Kitchen paper, both sides. Get every bit of moisture off the surface. This is non-negotiable.
- Heat the pan empty. Cast iron or carbon steel — medium-high heat for 2-3 minutes. Stainless steel — same. Test by flicking water in: it should sizzle and evaporate immediately. If it just sits there, the pan isn’t hot enough yet.
- Add a small amount of high-smoke-point oil. Vegetable oil, rapeseed, or sunflower. Olive oil starts smoking too low for proper searing. Just enough to coat the bottom of the pan.
- Wait for the oil to shimmer. Not smoke (that’s too hot). Shimmer. About 30 seconds.
- Place the food in the pan, away from you. Lay it down, don’t drop it. Don’t move it.
- Leave it alone. Resist the urge to check, poke, or move the food. It will release from the pan when it’s properly seared. If it’s stuck, it’s not ready.
- Flip when it releases easily. A properly seared piece of food will lift off the pan cleanly. If you have to force it, it needs longer.
- Sear the other side. Same process. Don’t move it.
- Transfer to a rest plate. Especially for meat. The sear is done — let the heat finish travelling through.
The clearest example I’ve cooked is a proper ragu. Most home cooks add the mince to the pan, brown it lightly, and move on to the soffritto. The result is a sauce that tastes fine but has no real depth. The version I make now sears the mince hard until it’s properly crispy and deeply browned in places — almost over-browned by most standards. Only then does the soffritto go in, then the wine, then the tomato. The depth of flavour from that one extra step of patience can’t be added later. No amount of simmering for hours will replace what you built in those first ten minutes of proper searing.
The “don’t move it” rule
This is the single biggest mistake home cooks make. The food gets put in the pan, and within 10 seconds someone is poking it, lifting it, repositioning it, scraping at the bottom. None of this helps. All of it hurts.
Browning needs sustained contact between the food and the hot surface. Every time you lift the food, you break that contact. Every time you move it, you disturb the crust that’s forming. Set the food down. Walk away. Set a timer if you don’t trust yourself.
Cooking in batches
If you have more food than will fit comfortably in your pan with space between each piece, cook in batches. Each batch sears properly. The pan stays hot. The fond builds up at the bottom — that browned residue that’s the basis of any sauce you’ll make afterwards.
This takes longer than crowding everything in at once, but the results are categorically different. Five minutes longer for double the depth of flavour.
The first time I made spaghetti and meatballs, I made every searing mistake at once. I crowded all the meatballs into a single stainless steel pan. They immediately released steam, stuck to the bottom, and refused to release when I tried to turn them. Half of them fell apart trying to get them off the pan. What I’d planned as crisp, deeply browned meatballs in a sauce became something closer to a slightly chunky bolognese — the meat shredded into the liquid because the sear had failed. I still use a stainless steel pan for meatballs now, but I cook them in batches with space between each one, leave them properly alone, and shake the pan gently when I think they’re ready — they release on their own when the sear is right.
What to look for when searing different things
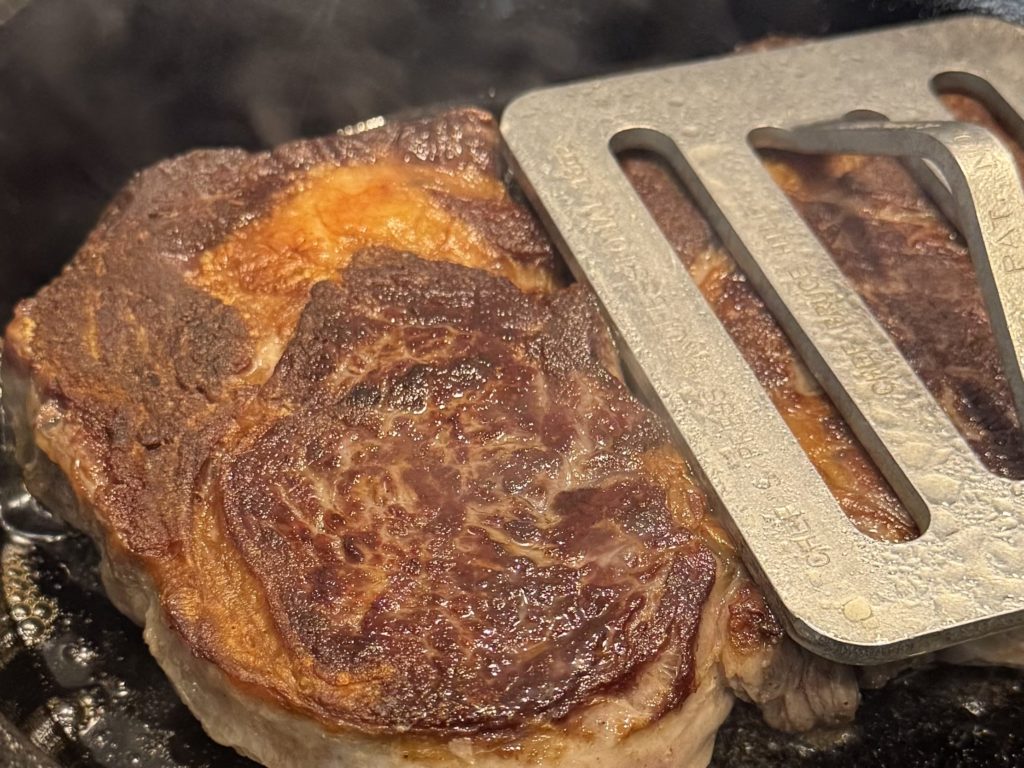
Beef. Deep brown to almost black on a hot pan, no grey middle band. A properly seared steak should have a thick crust and pink interior — not a layer of grey between the surface and the centre.
Chicken. Golden-brown skin, fully rendered. If the skin still looks pale and rubbery, keep going. Skin-on chicken should sear skin-side down for most of its cooking time.
Fish. Crispy, browned skin with the flesh still translucent in the middle. The fish releases naturally from the pan when the skin is ready. Press the fillet down for the first 30 seconds with a fish slice to keep it flat.
Vegetables. Charred edges with the inside still firm. Mushrooms especially benefit from sear — give them space and don’t move them, and they’ll go from soggy to deeply browned and meaty.
The fond — don’t waste it
After you’ve finished searing, look at the bottom of your pan. The browned residue stuck to the bottom isn’t burnt and it isn’t a mess. That’s fond — concentrated flavour, the same Maillard reaction that browned the food. It’s the base of every great sauce.
To capture it, add a splash of liquid (wine, stock, or water) to the hot pan and scrape with a wooden spoon. The fond dissolves into the liquid, taking all that browned flavour with it. That’s what makes the sauce on a seared chicken dish taste like a proper restaurant dish.
Wasting the fond is wasting the best part of searing. If you take nothing else from this article, take that.
The honest truth
Searing isn’t difficult. It’s just slower than people expect. Most home cooks rush — they put the food in too soon, take it out too soon, and move it constantly while it’s cooking. The skill of searing is the patience to do nothing while it happens.
Get a heavy pan. Get the food dry. Get the pan hot. Add oil. Place the food down. Don’t move it. Wait. Flip. Wait. Done.
That’s it. The hardest part of cooking properly is often the simplest one to describe.
One thing that genuinely infuriates me — cooking a steak in an air fryer. People will spend £20 on a good cut of meat and then put it in a machine that circulates hot air around it. The whole point of a steak is the crust. The crust comes from sustained, direct contact with a screaming hot pan. You can’t get that contact in an air fryer. What you get instead is a piece of meat that’s evenly grey-brown on the outside, dry on the surface but nowhere near a proper sear, with none of the depth or flavour that the cut deserves. It’s the cooking equivalent of buying a sports car and only driving it in second gear. A cheap pan and three minutes of attention will give you a vastly better result than the most expensive air fryer ever could. If you’re going to cook a steak, cook it properly.
Key Takeaways
- Dry the food properly before it touches the pan
- Heat the pan thoroughly before adding oil or food
- Don't crowd the pan — sear in batches if you need to
- Don't move the food while it's searing — let it release on its own