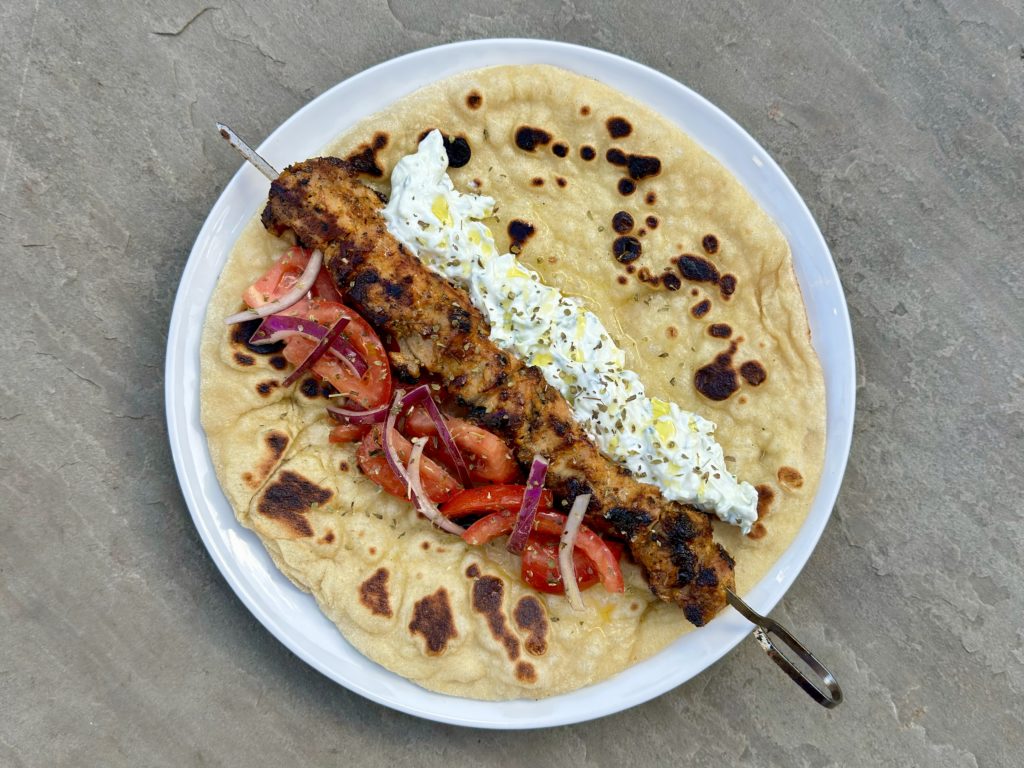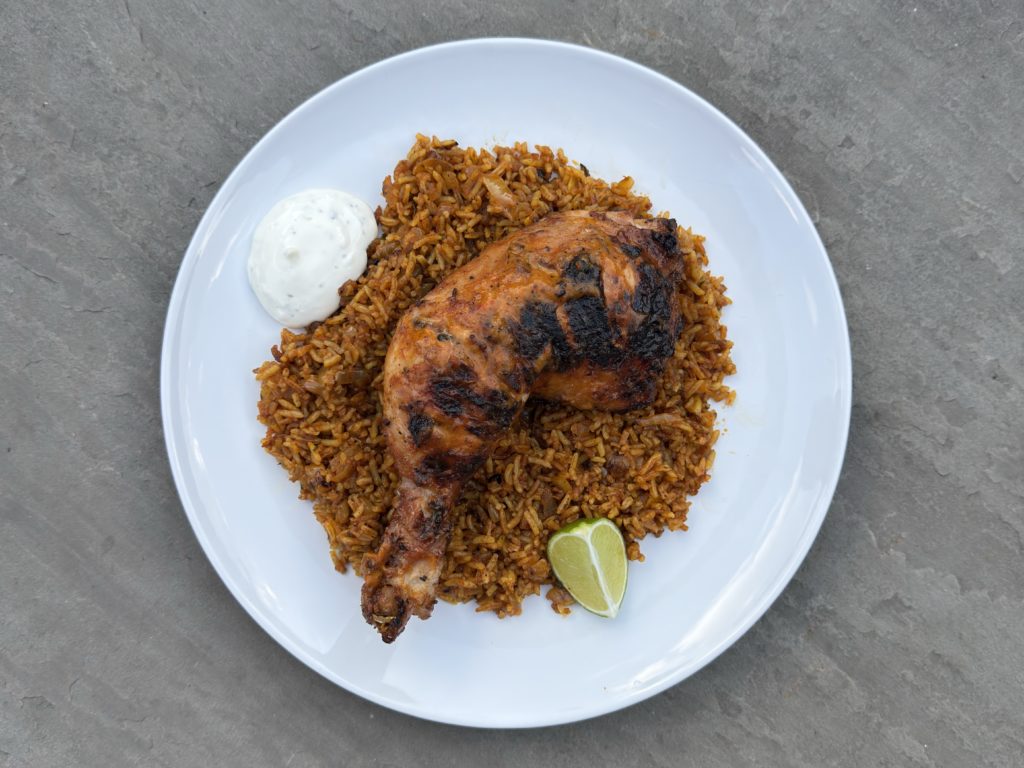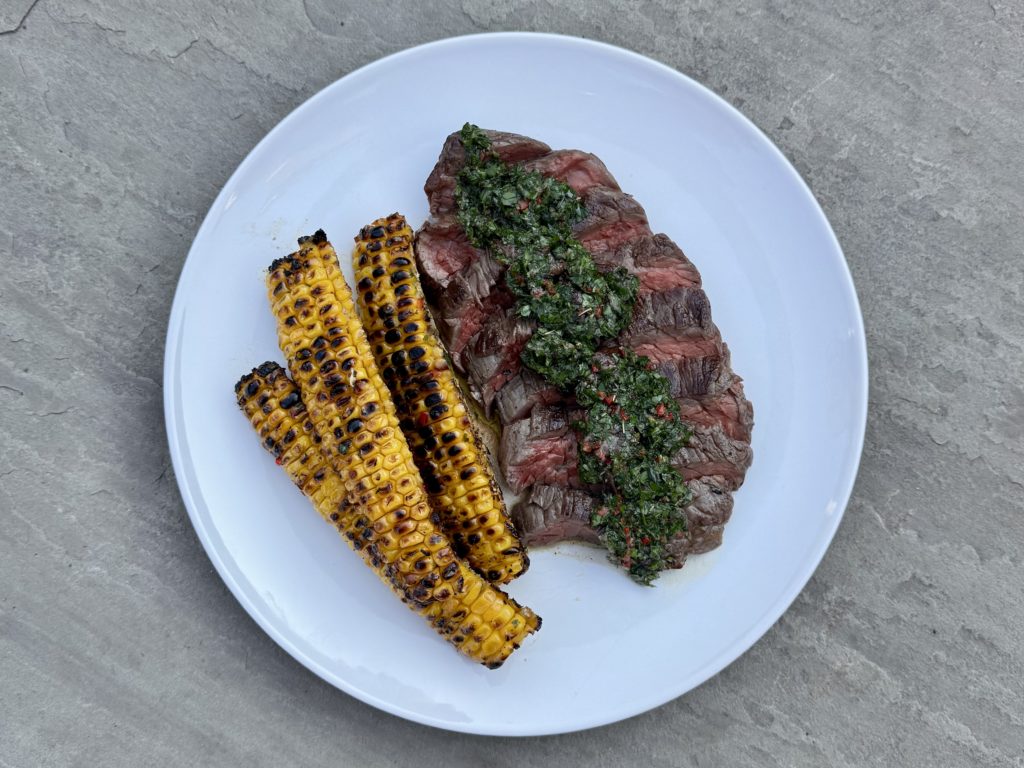
How to Cook on Charcoal
Charcoal cooking isn't complicated. It's just misunderstood — and most of the mistakes happen before a single piece of food touches the grill.
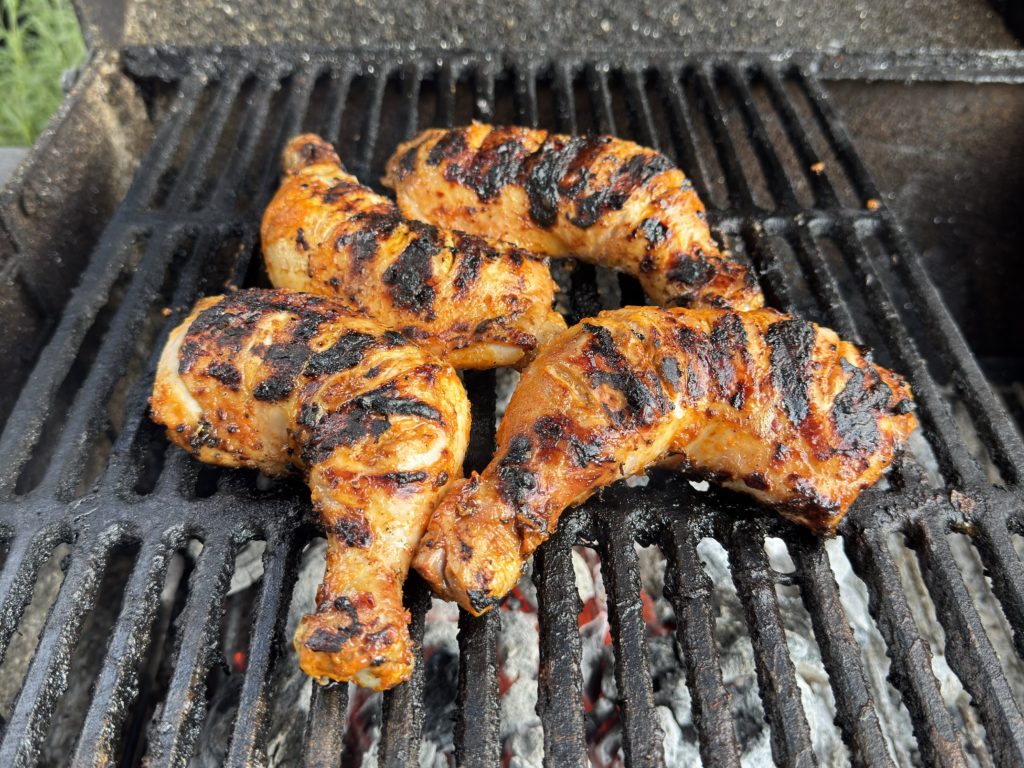
Charcoal produces a flavour that nothing else can replicate. The constant low smoke, the fat dripping onto hot coals and vaporising back up through the food, the char that builds on the surface — these are things a gas grill can't do and an oven certainly can't. Every piece of meat and most vegetables are better for it.
Most people who've had a bad experience with charcoal cooking made the same mistakes: wrong charcoal, no chimney starter, started cooking too early. None of these are technique failures. They're setup failures, and they're all avoidable.
What follows is a guide to doing it properly — from lighting the coals to managing the heat to knowing when to put the food on.
Why charcoal beats everything else on flavour
Charcoal cooking produces three things simultaneously that no other cooking method does: smoke, radiant heat, and drip vaporisation. The smoke from the burning charcoal flavours the food continuously throughout the cook. The fat that renders off the meat drips onto the hot coals, vaporises instantly, and rises back up through the food as a burst of flavour. The radiant heat from the coals chars the surface of the food in a way that a gas flame, which cooks primarily through convection, cannot replicate.
These three things together create a depth of flavour that is genuinely irreplaceable. A bavette steak cooked on charcoal and a bavette steak cooked in a cast iron pan are both good. They are not the same thing.
Gas grills have their place — they’re faster to start, easier to control, and produce a good result from the open flame and extreme heat. But the flavour ceiling is lower. Charcoal, done properly, produces something gas cannot.
The charcoal question — lumpwood vs briquettes
Use lumpwood charcoal. Not briquettes, and absolutely not instant-light bags.
Lumpwood is natural charcoal made from hardwood — irregular pieces that burn hot, light quickly, and produce clean smoke with minimal ash. It’s what charcoal should be. The pieces vary in size, which means a mix of fast-burning smaller pieces and longer-burning larger ones — a natural variation that suits most cooks.
Briquettes are compressed charcoal dust and binders, manufactured into uniform blocks. They burn longer and more consistently than lumpwood, which makes them popular for very long cooks — but they burn cooler, produce more ash, and the binders can affect flavour, particularly early in the burn. For most home charcoal cooking, lumpwood is the better choice.
Instant-light charcoal — the bags where the packaging itself is the firelighter — should be avoided entirely. The chemicals used to make it light easily smoke heavily and unpleasantly, the pieces are small and burn out quickly, and the flavour they impart to the food early in the cook is not charcoal flavour. It is chemical flavour. Buy proper lumpwood and light it properly.
How to light it — the chimney starter
A chimney starter is a metal cylinder with a grate inside. You fill it with charcoal, put a firelighter or combustible material underneath, and light it. The chimney effect draws air up through the coals, lighting them evenly and quickly without any lighter fluid or chemical assistance.
It is the correct way to light charcoal. Without one, you’re trying to light a pile of charcoal from the outside in — it’s slow, uneven, and often leaves unlit spots in the middle that never fully ignite. The chimney starter lights from the bottom up, which is how charcoal wants to burn.
For the firelighter, scrunch a piece of kitchen paper, soak it in a little neutral cooking oil, and place it underneath the chimney. It burns long enough to get the coals going without any chemical taste, and it costs almost nothing — particularly useful if you save old frying oil rather than discarding it. Proper firelighters work too, but the oiled kitchen paper is cheaper and just as effective.
Fill the chimney with lumpwood, light the paper underneath, and leave it alone for 15–20 minutes. The charcoal is ready when the top pieces are glowing orange and beginning to ash over at the edges.
When to start cooking — the most common mistake
Wait until the coals are white before cooking. Not orange, not glowing at the edges — white. A coal that is white on the outside has fully ignited and is burning at its hottest and cleanest. A coal that is still partly black is still burning off compounds that will smoke heavily and affect the flavour of the food.
This takes longer than most people expect — typically 20–30 minutes from lighting the chimney to the coals being genuinely ready. The temptation to start early is understandable, but food put on too early will taste of the early burn rather than clean charcoal smoke. Wait.
The visual cue is clear once you know it: white ash coating on the coals, a steady shimmer of heat above the grill, and a clean, relatively smoke-free burn. That’s when the food goes on.
Heat management — the two-zone setup
One of the advantages of charcoal over gas that’s rarely discussed is the ability to create very different heat zones within the same grill simply by where you put the coals. Pile the coals on one side of the grill for a hot zone and leave the other side empty for a cooler indirect zone.
The hot zone is for searing and charring — steaks, skewers, anything that benefits from direct high heat. The cool zone is for finishing thicker cuts that need more time without burning the outside, or for holding things warm while you finish the rest of the cook. It’s also where to move anything that’s colouring too fast.
This two-zone setup transforms charcoal cooking from a single-temperature situation into something genuinely controllable. A thick piece of chicken can be seared over direct heat and finished in the indirect zone without burning. A bavette steak can be charred hard over the coals and rested in the cooler zone.
More advanced setups — like the Argentine asado grill, where the grill height above the coals can be adjusted with a handle — give even more control. Raising the grill reduces the heat; lowering it increases it. The principle is the same as the two-zone setup, just with more precision. It’s the system most serious charcoal cooks eventually move towards.
Using a lid
A grill with a lid changes what charcoal cooking can do. Open, you’re grilling — high, direct heat, fast cooking, maximum char. Lidded, you’re roasting over coals — the heat circulates around the food, the smoke builds up inside, and the cooking is slower and more even.
For thick cuts — whole chicken, large joints, anything over 3cm thick — the lid is how you cook the inside without burning the outside. Sear over direct heat first, then move to the indirect zone, close the lid, and let the heat do the work. Control the temperature with the vents — more airflow means more heat, less means lower and slower.
What charcoal cooking is actually for
There’s a version of charcoal cooking that involves buying a large selection of average meat, inviting everyone over, and cooking everything at once until it’s done. This can be a good time. It’s not what charcoal cooking does best.
Charcoal cooking is best when it’s treated the same way as any other cooking method — as a way to cook one or two things properly rather than everything simultaneously. A single bavette steak cooked over charcoal and served with chimichurri, or a spatchcocked chicken marinated in piri piri and cooked low and slow over indirect heat — these dishes exist because of the charcoal, not despite it. The charcoal is an ingredient.
It’s also worth doing year-round. The instinct to treat the BBQ as a summer-only piece of equipment means it sits unused for most of the year while the weather is perfectly fine for outdoor cooking. A bavette steak in November over charcoal is as good as one in July. Better, probably, because you’re not cooking twenty things at once.
The honest truth
Most bad charcoal experiences come from setup failures, not cooking failures. Instant-light charcoal that smokes too much, no chimney starter so the coals never light evenly, starting to cook before the coals are white, no heat management because there’s only one zone — fix those four things and charcoal cooking stops being frustrating and starts being the best way to cook meat outdoors.
The equipment doesn’t need to be expensive. A decent bag of lumpwood, a chimney starter, oiled kitchen paper, and a grill with a lid and some airflow control will outperform a gas grill on flavour every time. The patience to wait for the coals to be ready is the only skill involved, and it’s not really a skill — it’s just waiting.
Key Takeaways
- Use good quality lumpwood charcoal — avoid briquettes for most cooks and avoid instant-light entirely.
- Always use a chimney starter — it's the only way to light charcoal evenly without chemicals. Oiled kitchen paper underneath is all you need.
- Wait until the coals are white before cooking. Starting early is the most common mistake and it affects the flavour of everything that goes on the grill.
- Set up two heat zones — one direct, one indirect — and use the lid for thicker cuts that need more time.
Recipes that use this