Chicken milanese with a brown butter, caper and lemon sauce and a rocket and parmesan salad. It’s a chicken take on cotoletta alla milanese, the breaded veal cutlet from Milan. It’s a tasty, fresh and fast summery dish.
Prep aheadOptional head start · the night before
Ingredients
- Chicken
- 2 Chicken breasts, butterflied and pounded thin
- Fine sea salt, 1.2% of the meat weight
- 1 tsp Black pepper, freshly ground
- 50 g Plain flour
- 1 Eggs
- 15 ml Whole milk
- 70 g Panko breadcrumbs
- 15 g Parmesan, finely grated
- 0.5 L Neutral deep frying oil
- Brown butter caper sauce
- 40 g Butter
- 1 tbsp (9g) Capers, rinsed and dried
- 5 g Flat-leaf parsley, finely chopped
- 20 g Fresh lemon juice
- 0.5 Lemon zest
- Black pepper, to taste
- Rocket salad
- 10 g Fresh lemon juice
- 20 g Extra virgin olive oil
- 60 g Rocket
- 20 g Parmesan, shaved
- Crispy capers (optional)
- 1 tbsp (9g) Capers, rinsed and dried
Equipment
- Wide frying pan
- Small saucepan
- Wire rack
Season the chicken breasts generously with fine sea salt on both sides. Place uncovered on a tray in the fridge overnight.
Butterfly each breast by slicing horizontally and opening it like a book, stopping just before you cut all the way through. Fold open and place between two sheets of greaseproof paper and pound to an even 1cm thickness using a rolling pin or the flat base of a heavy pan. Work gradually from the centre outwards with steady, firm strokes — rushing or striking too hard will tear the meat.
Set up three shallow bowls in a line. Bowl one: plain flour seasoned with black pepper. Bowl two: eggs beaten with the milk. Bowl three: panko breadcrumbs mixed with the grated Parmesan.
Working one cutlet at a time, coat thoroughly in the seasoned plain flour, shaking off any excess. Transfer to the egg wash and coat completely, letting any excess drip off. Press firmly into the panko and Parmesan mixture, turning and pressing to ensure an even, well-adhered crust on both sides. Set aside on a tray and leave to rest for 5 minutes before frying. While they rest, preheat around 1cm of neutral oil in a wide frying pan to 180°C (355°F).
While the breaded chicken rests, place the butter in a small saucepan over medium-high heat. The butter will melt, then foam, then the foam will subside. At this point watch it closely. The milk solids will begin to turn golden and then brown, and the butter will smell distinctly nutty. Remove from the heat the moment it turns a deep amber colour and smells of toasted hazelnuts. Add the capers and let them sizzle.
Lay the breaded cutlets into the hot oil away from you, one at a time. Fry for around 3 minutes per side until deeply golden and crisp. Cook in batches if both cutlets don’t fit with space between them. Remove to a wire rack to drain. If in doubt, check with a thermometer and pull at 65-70°C (149°F) — rest for a few minutes before serving.
Off the heat, add the flat-leaf parsley, lemon juice, lemon zest, and a few grinds of black pepper to the browned butter. Stir to combine and taste — it should be sharp, nutty, and slightly salty from the capers.
If making crispy capers, ensure they are thoroughly dried on kitchen paper — any residual moisture will cause the oil to spit violently. Add to the hot frying oil after the chicken is done and stand back. They will sizzle aggressively. Remove when the sizzling subsides and they are crisp — around 1–2 minutes. Drain on a wire rack and use immediately.
Add the lemon juice and extra virgin olive oil to a small bowl with a pinch of salt and a grind of black pepper. Whisk until emulsified. Taste and adjust the seasoning before tossing the rocket and Parmesan shavings in the dressing to coat. Serve the chicken on warmed plates, spoon the brown butter sauce generously over and around, pile the salad alongside, and scatter the crispy capers over if using.
Notes & Substitutions
Chicken temperature: The cutlets are thin enough that around 3 minutes per side in properly heated oil will cook them through. If in doubt, check with a thermometer — pull at 65-70°C (149°F) and rest briefly. See the chicken temperature guide for more detail.
Panko vs standard breadcrumbs: Panko gives a lighter, crispier, more open crust than standard dried breadcrumbs. It is worth seeking out — most large supermarkets stock it.
Parmesan in the crust: Use finely grated Parmesan rather than coarsely grated — fine Parmesan distributes evenly through the crumb and melts into the crust as it fries. Coarse Parmesan sits in clumps and can burn before the crust is done.
Veal: The traditional Milanese is made with veal escalope rather than chicken. Same technique, same sauce. If you can source good veal, the method is identical.
You might also like
Chicken Milanese
COOKED
PROPERLY
Ingredients
- 2 Chicken breasts (butterflied and pounded thin)
- Fine sea salt (1.2% of the meat weight)
- 1 tsp Black pepper (freshly ground)
- 50 g Plain flour
- 1 Eggs
- 15 ml Whole milk
- 70 g Panko breadcrumbs
- 15 g Parmesan (finely grated)
- 0.5 L Neutral deep frying oil
- 40 g Butter
- 1 tbsp Capers (rinsed and dried)
- 5 g Flat-leaf parsley (finely chopped)
- 20 g Fresh lemon juice
- 0.5 Lemon zest
- Black pepper (to taste)
- 10 g Fresh lemon juice
- 20 g Extra virgin olive oil
- 60 g Rocket
- 20 g Parmesan (shaved)
- 1 tbsp Capers (rinsed and dried)
Equipment
- Wide frying pan
- Small saucepan
- Wire rack
Method
Season the chicken
2 Chicken breasts · Fine sea salt
Season the chicken breasts generously with fine sea salt on both sides. Place uncovered on a tray in the fridge overnight.
If you forget or don’t have time to season the night before, the morning of is the next best time. If not then season right before coating in the flour.
Butterfly and pound the chicken
Butterfly each breast by slicing horizontally and opening it like a book, stopping just before you cut all the way through. Fold open and place between two sheets of greaseproof paper and pound to an even 1cm thickness using a rolling pin or the flat base of a heavy pan. Work gradually from the centre outwards with steady, firm strokes — rushing or striking too hard will tear the meat.
Patience with the pounding pays off. The greaseproof paper prevents the meat from tearing and keeps the work surface clean. If the breast splits slightly at the edges it doesn’t matter.
Set up the breading stations
1 tsp Black pepper · 50 g Plain flour · 1 Eggs · 15 ml Whole milk · 70 g Panko breadcrumbs · 15 g Parmesan
Set up three shallow bowls in a line. Bowl one: plain flour seasoned with black pepper. Bowl two: eggs beaten with the milk. Bowl three: panko breadcrumbs mixed with the grated Parmesan.
Bread the chicken
Working one cutlet at a time, coat thoroughly in the seasoned plain flour, shaking off any excess. Transfer to the egg wash and coat completely, letting any excess drip off. Press firmly into the panko and Parmesan mixture, turning and pressing to ensure an even, well-adhered crust on both sides. Set aside on a tray and leave to rest for 5 minutes before frying. While they rest, preheat around 1cm of neutral oil in a wide frying pan to 180°C (355°F).
Use the wet hand dry hand technique — keep one hand for the flour and breadcrumbs, one hand for the egg. This prevents you breading your fingers as well as the chicken.
Brown the butter
40 g Butter · 1 tbsp Capers
While the breaded chicken rests, place the butter in a small saucepan over medium-high heat. The butter will melt, then foam, then the foam will subside. At this point watch it closely. The milk solids will begin to turn golden and then brown, and the butter will smell distinctly nutty. Remove from the heat the moment it turns a deep amber colour and smells of toasted hazelnuts. Add the capers and let them sizzle.
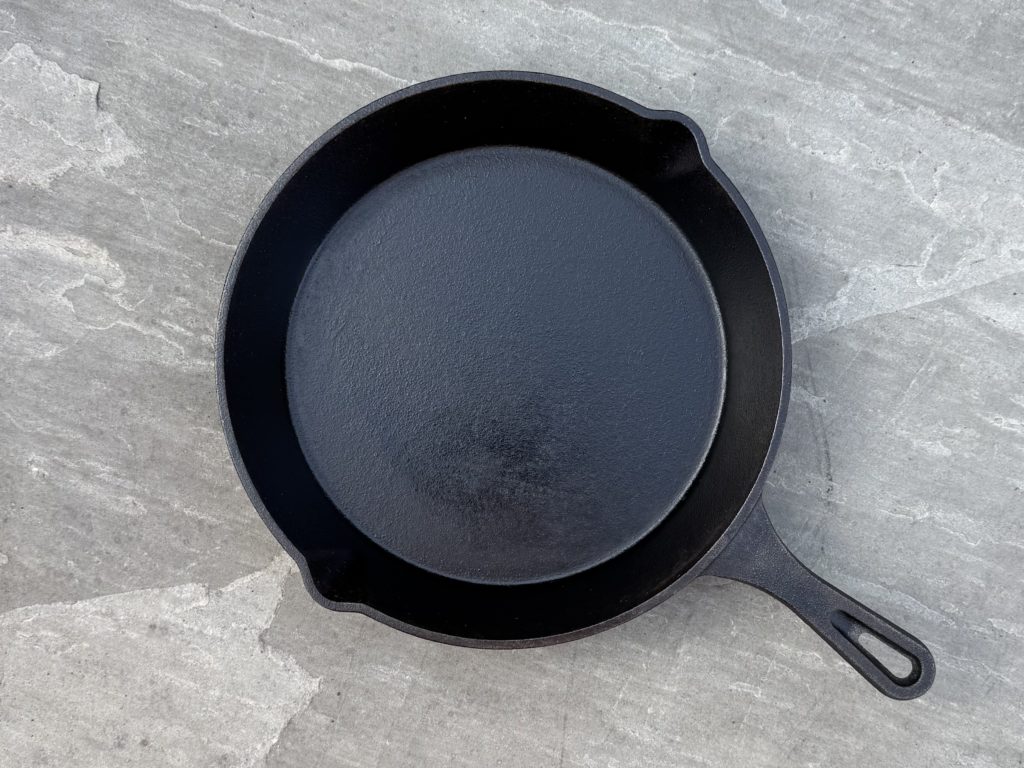
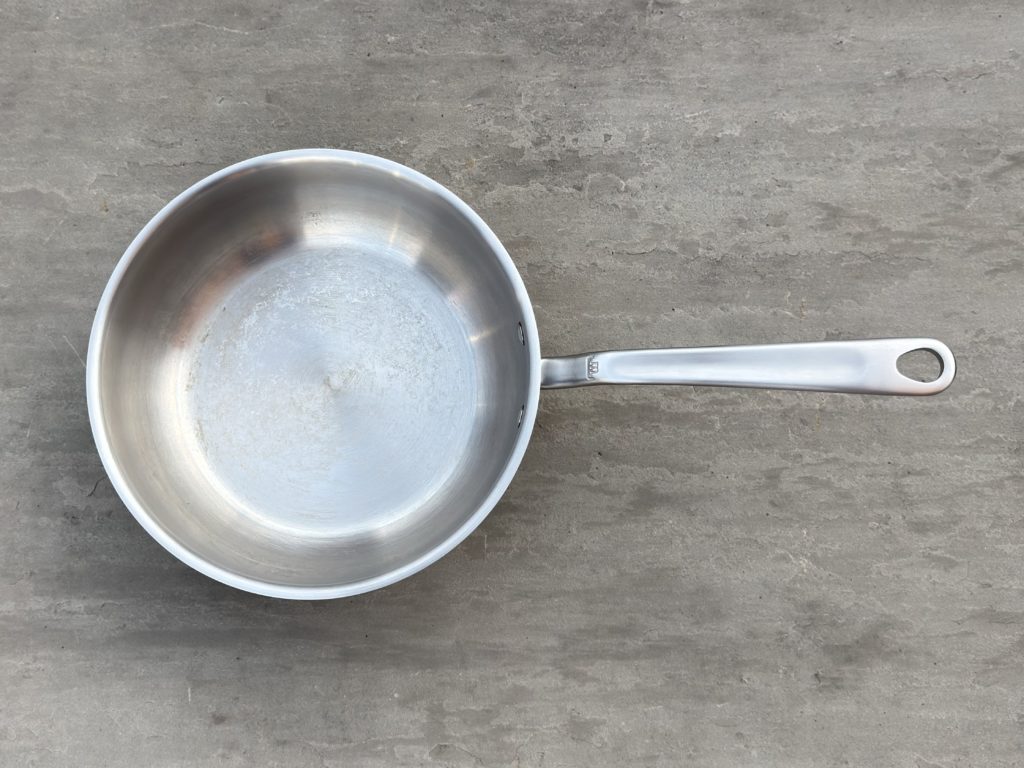
Use a light-coloured or stainless saucepan rather than a dark one — it makes it far easier to see the colour change in the milk solids.
Fry the chicken
Lay the breaded cutlets into the hot oil away from you, one at a time. Fry for around 3 minutes per side until deeply golden and crisp. Cook in batches if both cutlets don’t fit with space between them. Remove to a wire rack to drain. If in doubt, check with a thermometer and pull at 65-70°C (149°F) — rest for a few minutes before serving.
Don’t overcrowd the pan. Two large cutlets in a pan that’s too small drops the oil temperature sharply and the crust absorbs oil rather than crisping. If in doubt, fry one at a time and keep the first warm in a low oven on the wire rack while the second cooks.
Finish the brown butter sauce
5 g Flat-leaf parsley · 20 g Fresh lemon juice · 0.5 Lemon zest · Black pepper
Off the heat, add the flat-leaf parsley, lemon juice, lemon zest, and a few grinds of black pepper to the browned butter. Stir to combine and taste — it should be sharp, nutty, and slightly salty from the capers.
Fry the crispy capers
1 tbsp Capers
If making crispy capers, ensure they are thoroughly dried on kitchen paper — any residual moisture will cause the oil to spit violently. Add to the hot frying oil after the chicken is done and stand back. They will sizzle aggressively. Remove when the sizzling subsides and they are crisp — around 1–2 minutes. Drain on a wire rack and use immediately.
Drying the capers is not optional — wet capers hitting hot oil will spit hard. Pat them dry and leave them on kitchen paper for a few minutes before frying. The drier they are, the safer and faster this step is.
Make the salad and serve
10 g Fresh lemon juice · 20 g Extra virgin olive oil · 60 g Rocket · 20 g Parmesan · 1 tbsp Capers
Add the lemon juice and extra virgin olive oil to a small bowl with a pinch of salt and a grind of black pepper. Whisk until emulsified. Taste and adjust the seasoning before tossing the rocket and Parmesan shavings in the dressing to coat. Serve the chicken on warmed plates, spoon the brown butter sauce generously over and around, pile the salad alongside, and scatter the crispy capers over if using.
Dress the salad at the last moment. Rocket wilts quickly once it hits the salt and acidity of the lemon. Toss, plate, serve immediately.
SCAN TO OPEN
Good food, cooked properly.
Proper recipes, intelligent planning, one shopping list.
cookedproperly.com

Free guide: How to Cook Properly
How to Cook Properly — the 11 principles that turn average into outstanding
Equipment worth having
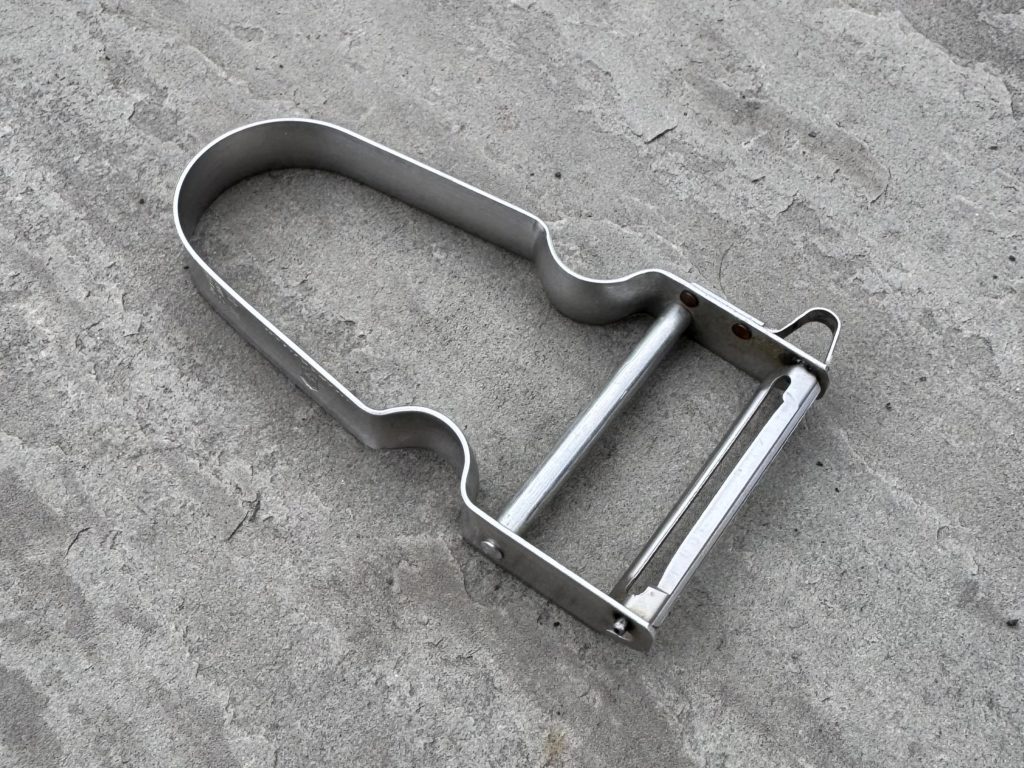
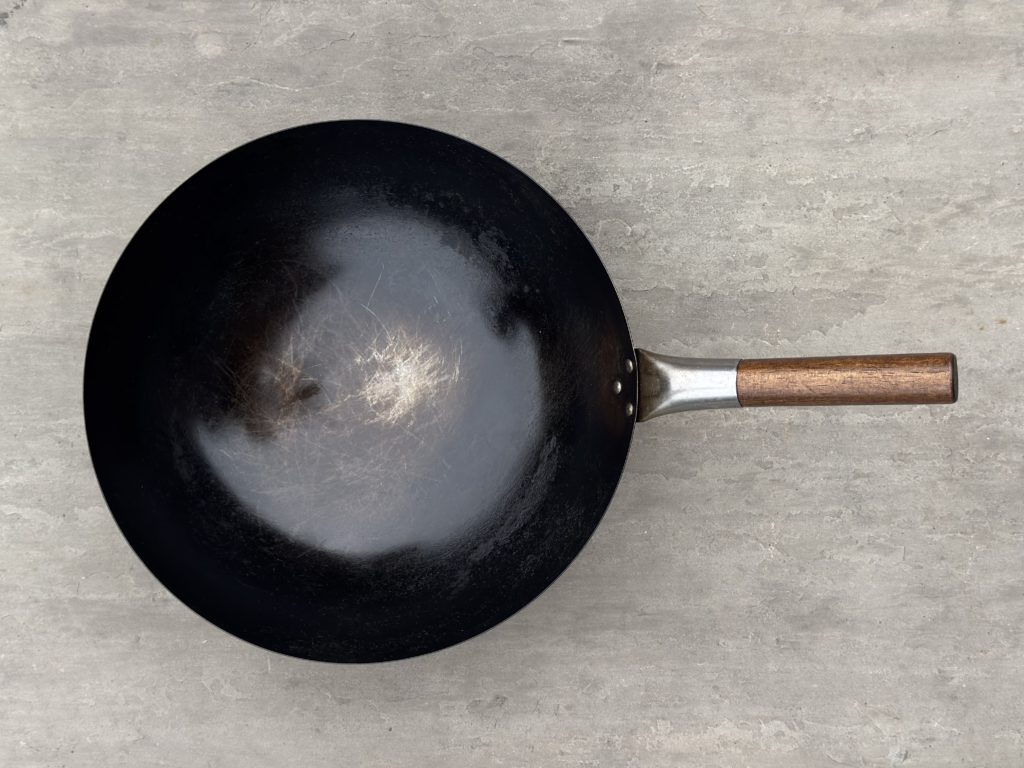
The wok costs £25. The heat underneath it is what you're really paying for.
£10-£25
The wok costs £25. The heat underneath it is what you're really paying for.
£10-£25
The wok costs £25. The heat underneath it is what you're really paying for.
£10-£25Shape what comes next
Got a recipe you'd love to see, or an idea to make the site better? We read every suggestion.
Log in to suggest